Employee Management
Employees is where you manage your people - adding new starters, maintaining profiles, handling contracts, and running probation evaluations.
Employee List
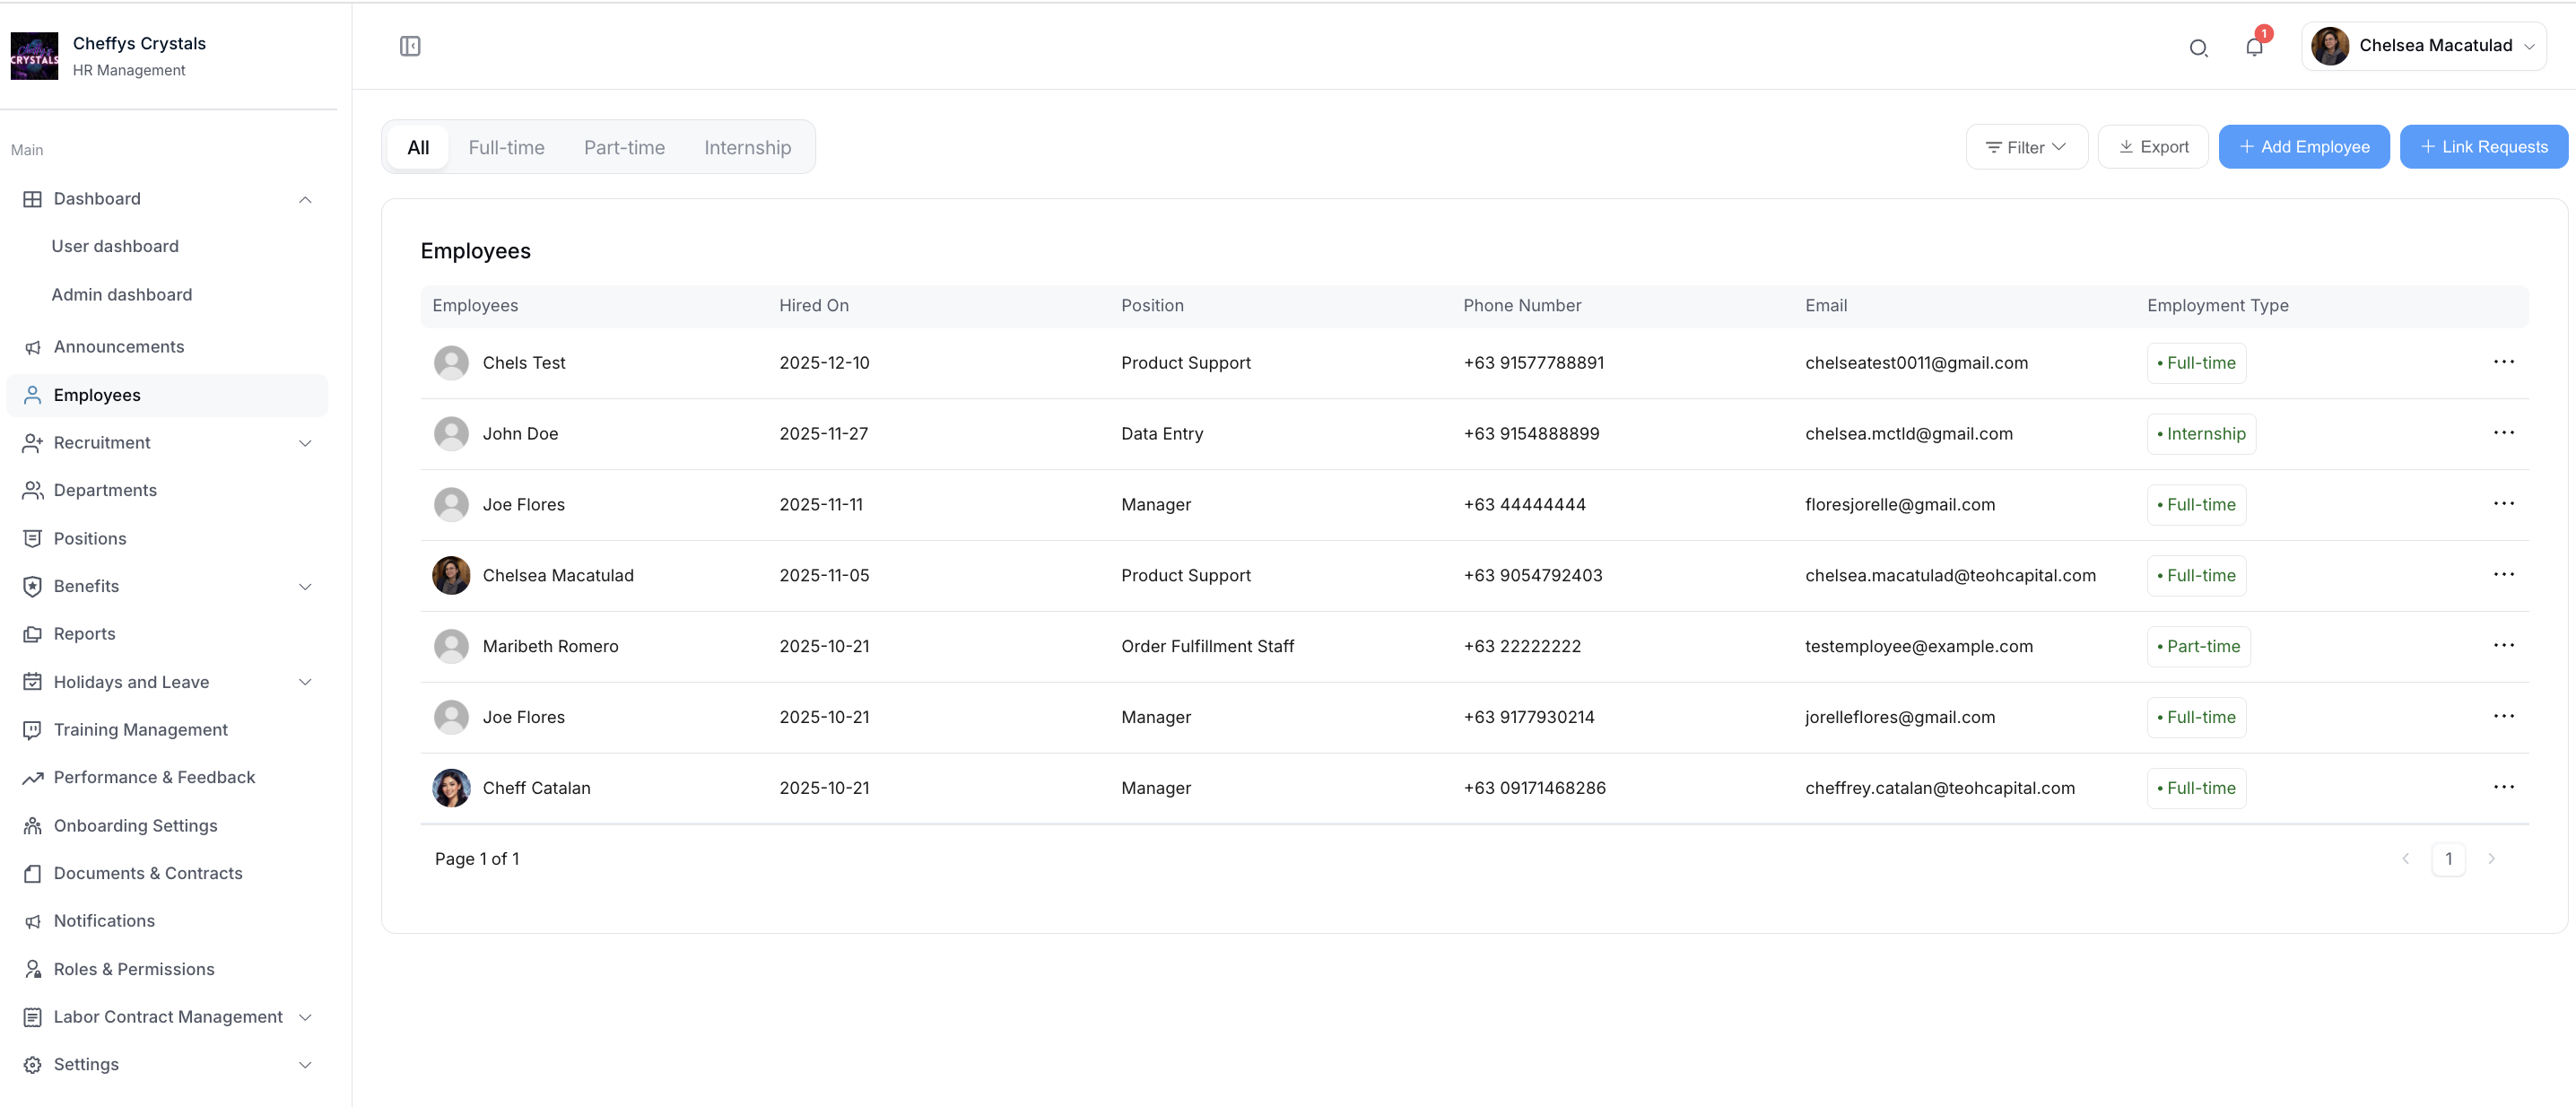
The list opens on seven tabs that filter by employment type:
- All
- Full-time
- Part-time
- Internship
- Contractor
- Casual
- Others
Toolbar
| Control | What it does |
|---|---|
| Search | Opens the filter panel |
| Export | Downloads the employee list |
| Batch Upload | Creates multiple employees at once from a CSV file |
| Add Employee | Opens the form to create a new employee |
| Link Requests | Opens Invite link requests, where you review requests submitted through a registration link |
Filters
Open the filter panel to narrow the list by Employee name, Hired On, Email, Shifts, or Status.
Status has three values:
- Active
- Resigned
- Offboarding In Progress
Row actions
Each employee row offers the actions relevant to their current status:
| Action | Available when |
|---|---|
| View | Always - opens the employee profile |
| Initiate Offboarding | The employee is Active |
| Cancel Offboarding | The employee is Offboarding In Progress |
| Resignation Info | The employee is Resigned |
| Restore | The employee is Resigned - reactivates their record |
Cancel Offboarding and Restore both reverse an offboarding. Use Cancel Offboarding while it's still in progress, and Restore once the employee has already been marked as Resigned.
Adding New Employees
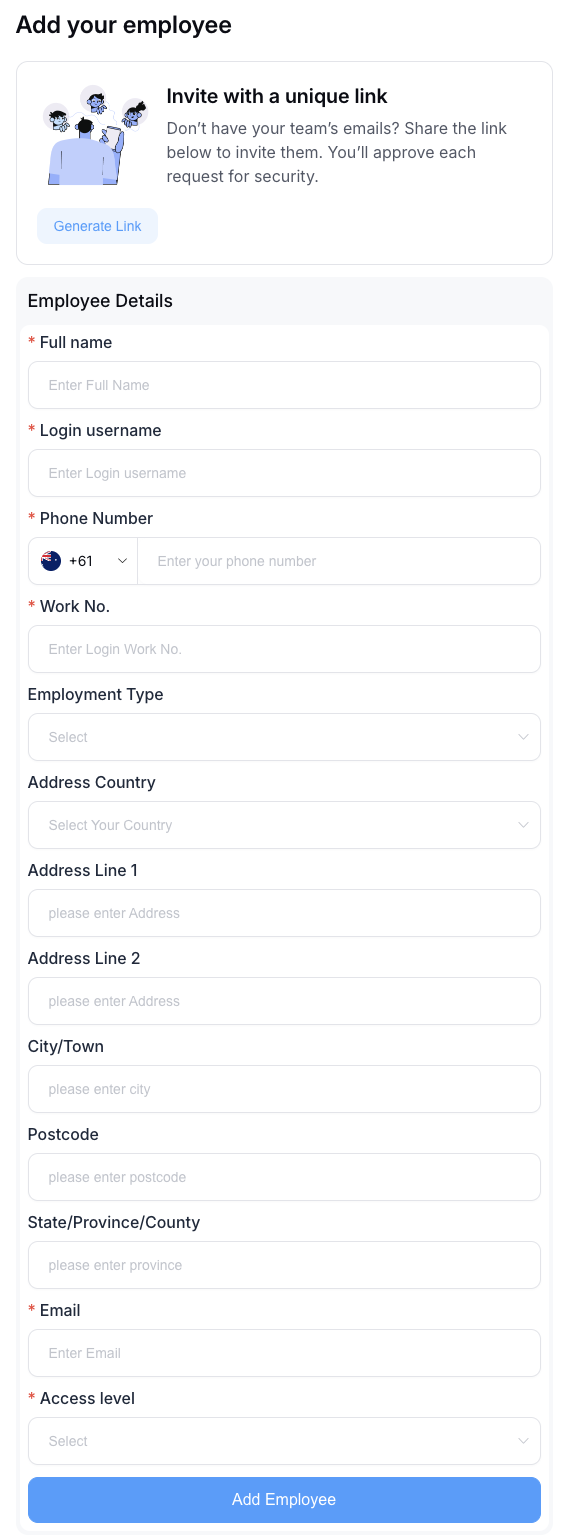
Complete the employee form with their personal details, employment details, and emergency contact information.
ShiftCare has no Internship employment type, so it's never sent there. An employee set to Internship stays Internship in the HR Tool. Employees who already exist in ShiftCare keep whatever employment type is already set there; new employees are created with no employment type, so ShiftCare applies its own default - if it holds none, the next update from the HR Tool sets it to Others.
Once the employee is created, an email is sent to let them set up their account and sign in. You also assign their role, which determines what they can access.
Copy Link
Instead of entering someone's details yourself, select Copy Link to generate a registration link you can send them. They complete their own details, and the submission appears under Link Requests for you to review.
Batch Upload
Use Batch Upload to create several employees at once from a CSV file.
Login invite emails are automatically sent to each imported employee.
Step 1 - Download the CSV template
Select Download Template. The template contains the column headers the import expects, including:
- Full Name and Email - both required
- Login Username, Phone Number, Gender, Date of Birth, Hire Date
- Employment Type, Department, Position, Employee ID, Probation Status
- Location, Country, City, Post Code
- Leave Entitlements, Work Period, Hours Per Period
- Base Salary, Pay Frequency, Pay Rate, Tax File Number
- Bank Account Holder Name, Bank Account Number, Bank Name
- Superannuation fields, Tax Declaration, and Required Documentation
Fill in your employees, one per row.
Step 2 - Upload your completed CSV
Click the upload area or drag your file onto it. Only .csv files are accepted.
Select Upload & Import to run the import.
Reviewing the results
Once the import finishes you'll see a summary with three figures:
| Result | Meaning |
|---|---|
| Imported | Rows successfully created as employees |
| Skipped | Rows for an employee who already exists |
| Failed | Rows that couldn't be imported because of an error |
Skipped rows are listed under Already Exists — Skipped, and failed rows under Errors, each identified by row so you can correct your file.
Rows with errors are skipped automatically - valid rows are still imported. A duplicate email, username, or employee ID counts as Skipped rather than failed, so re-running an import won't create duplicates.
From the results you can:
- Upload Another - import a further file
- Download Report - save the import results
- Done - close and return to the refreshed employee list
Fix the rows listed under Errors in your original CSV, then use Upload Another to import just those. Employees already created are skipped, so nothing is duplicated.
If you're already signed in to the platform, sign out before opening a registration link, otherwise the form may not load correctly.
Employee Profile
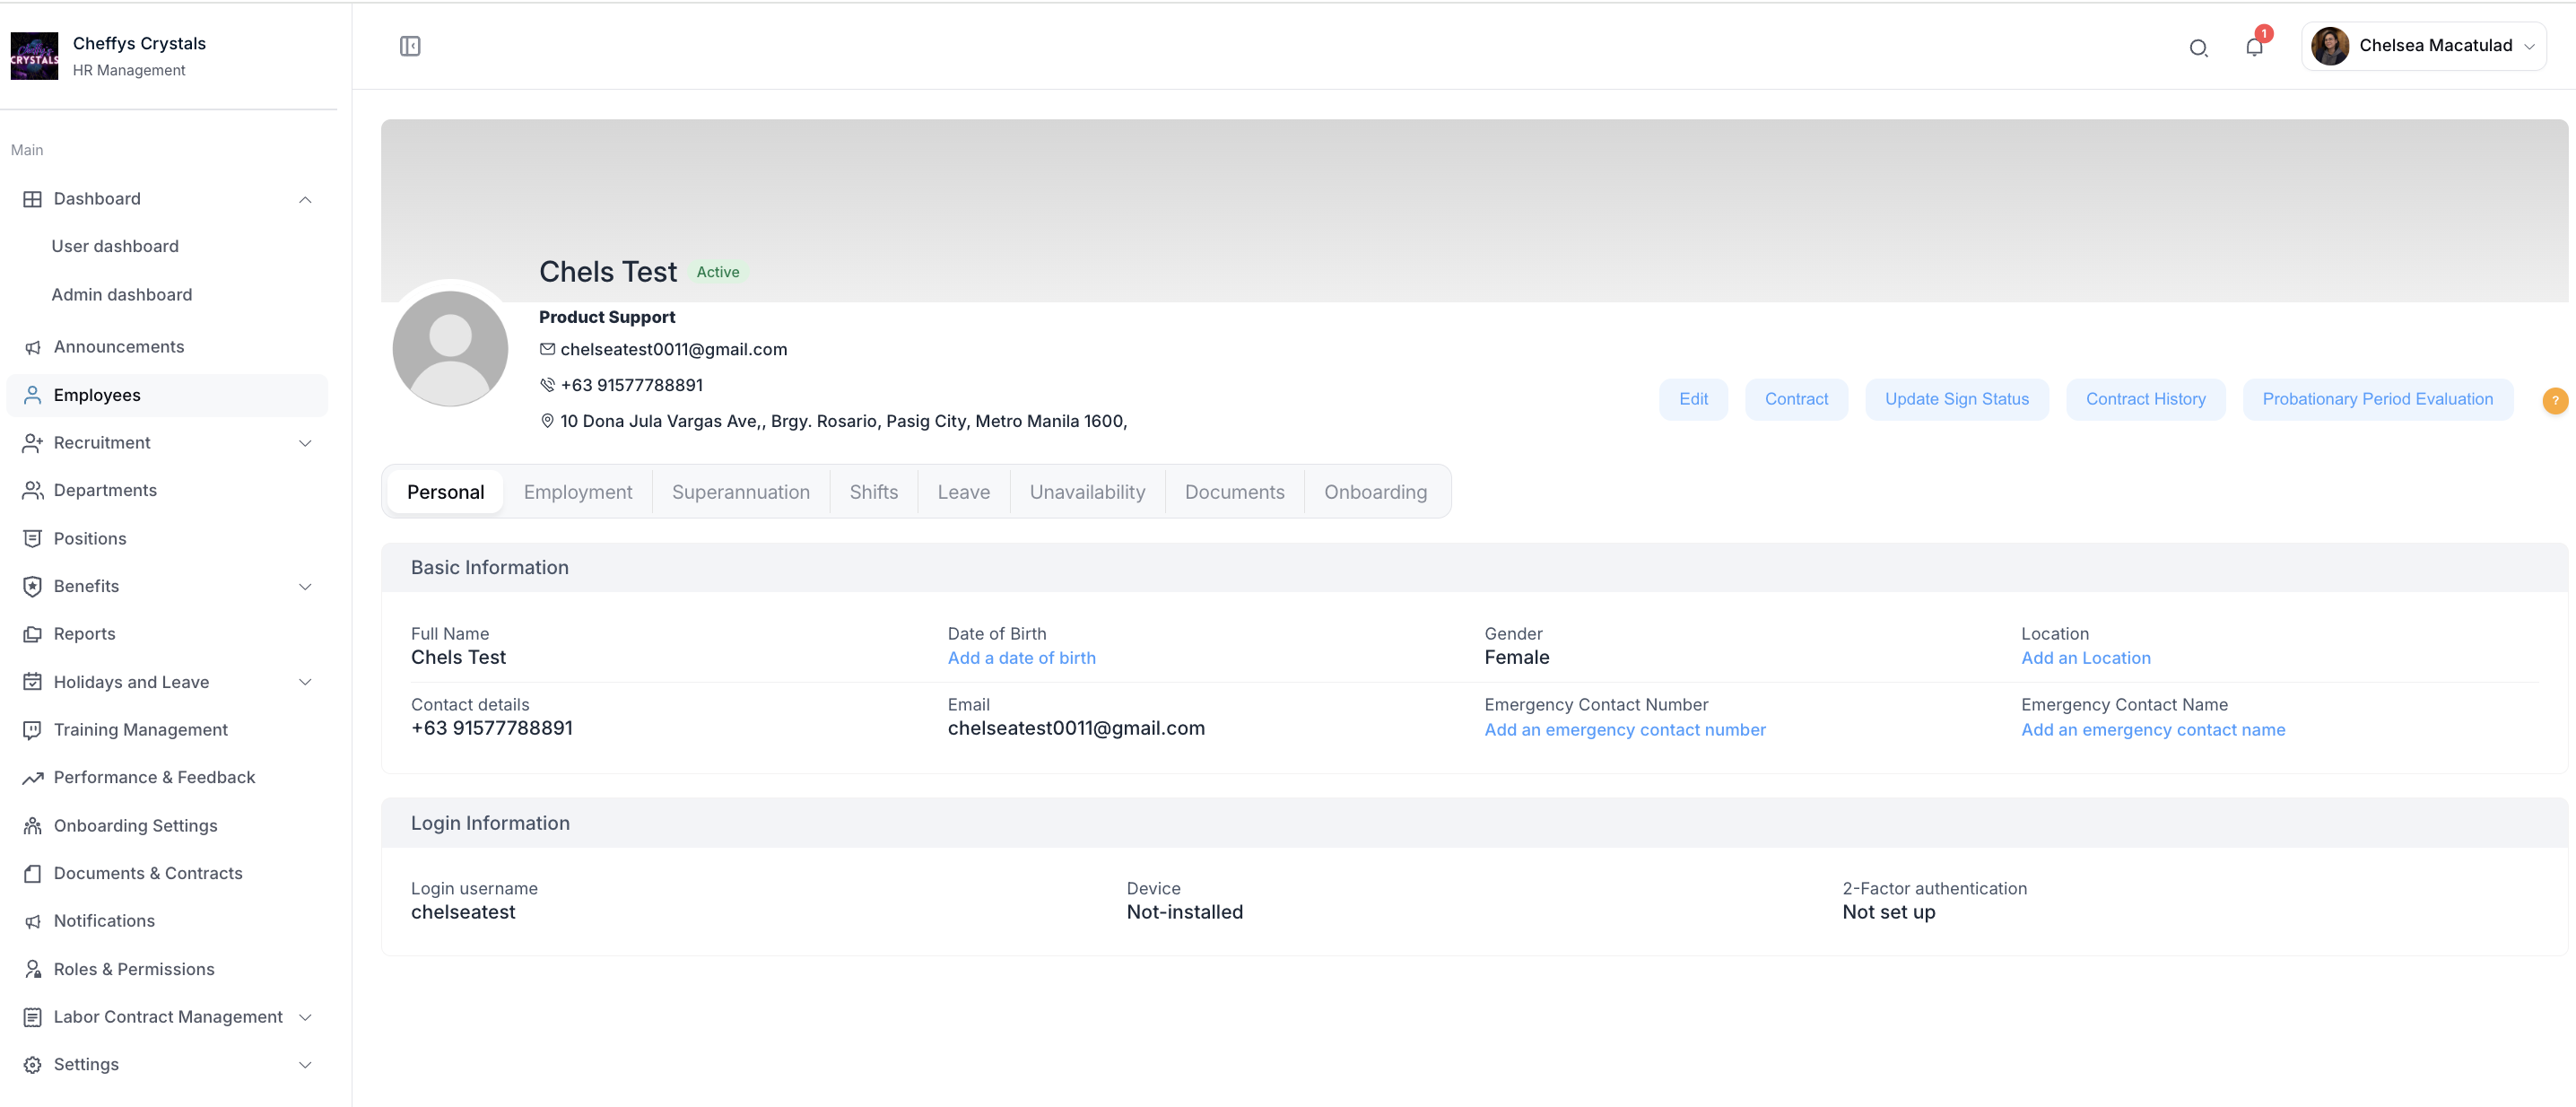
Selecting View opens the employee's profile, organised into tabs:
| Tab | Contents |
|---|---|
| Personal | Name, contact details, address, emergency contacts |
| Employment | Position, department, employment type, start date |
| Superannuation | Fund details - see Superannuation |
| Shifts | Shift assignments and scheduling |
| Leave | Leave balances and history |
| Unavailability | Periods the employee isn't available |
| Documents | Files on the employee's record — Share grants another user Can view or Can download access to that file |
| Onboarding | Their onboarding progress and submissions |
| Pay and Compensation | Pay details |
From the profile you can also open Contract History and Probationary Period Evaluation History.
Offboarding an Employee
Select Initiate Offboarding on the employee's row and complete:
- Termination Date
- Reason for Termination - choose from Resignation (Voluntary), Termination (Involuntary), Redundancy, Retirement, or End of Contract
- Rehire Eligibility - whether the employee may be rehired in future
The employee moves to Offboarding In Progress, and to Resigned once the termination date is reached.
For the full offboarding process, see Employee Offboarding.
Contract Management
Contract Signing
There are two ways to record a signed contract.
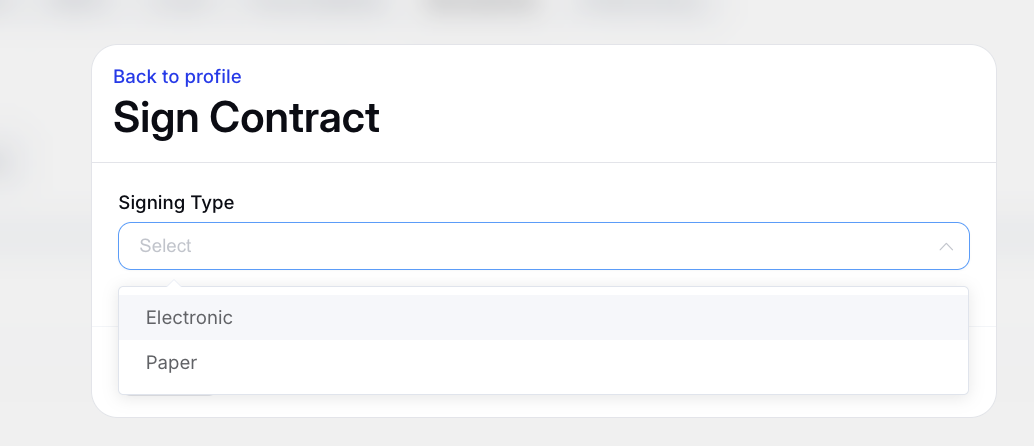
Paper contract - upload the signed document and enter the contract details manually. Since the signing happens on paper, the tool can't detect it - the contract is saved as Not signed until you confirm it.
Electronic contract - generate the contract from a template and send it to the employee to sign online.
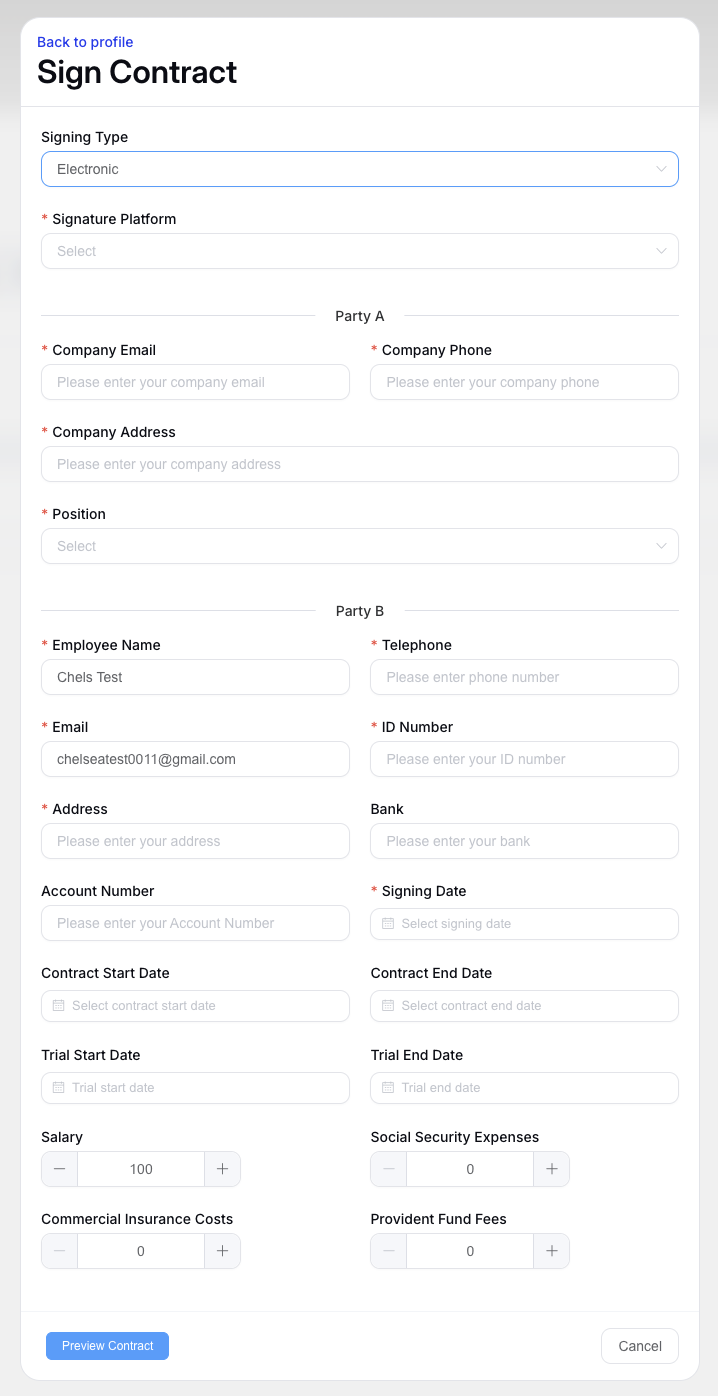
For a paper contract, once both parties have signed, open the employee's contract and select Confirm both parties have signed to record the signatures.
Contract tracking
Contracts show a signing status of Pending or Signed, and are flagged when they reach their maturity date. Expiring and expired contracts are managed from Labor Contract Management - see Contract Management.
From Contract History, click View Contract to open a contract's stored content, then use Download PDF to save a copy for printing and wet-signing.
Employee Evaluations
Probationary Period Evaluation
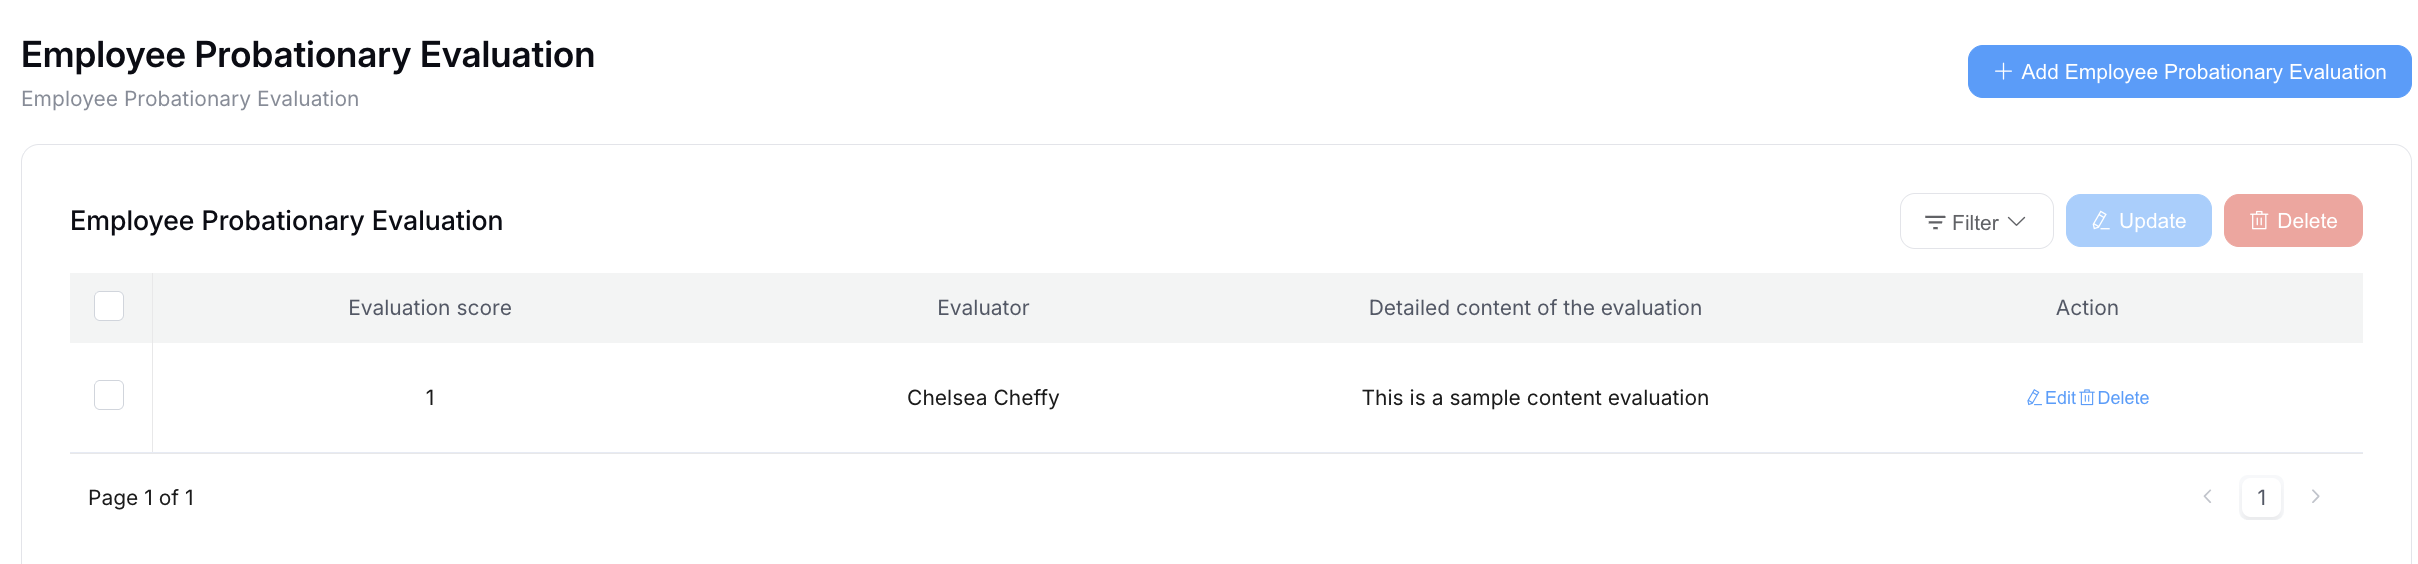
Record evaluations for employees serving a probationary period.
- Select the employee.
- Complete the evaluation criteria and ratings.
- Add your comments.
- Save the evaluation.
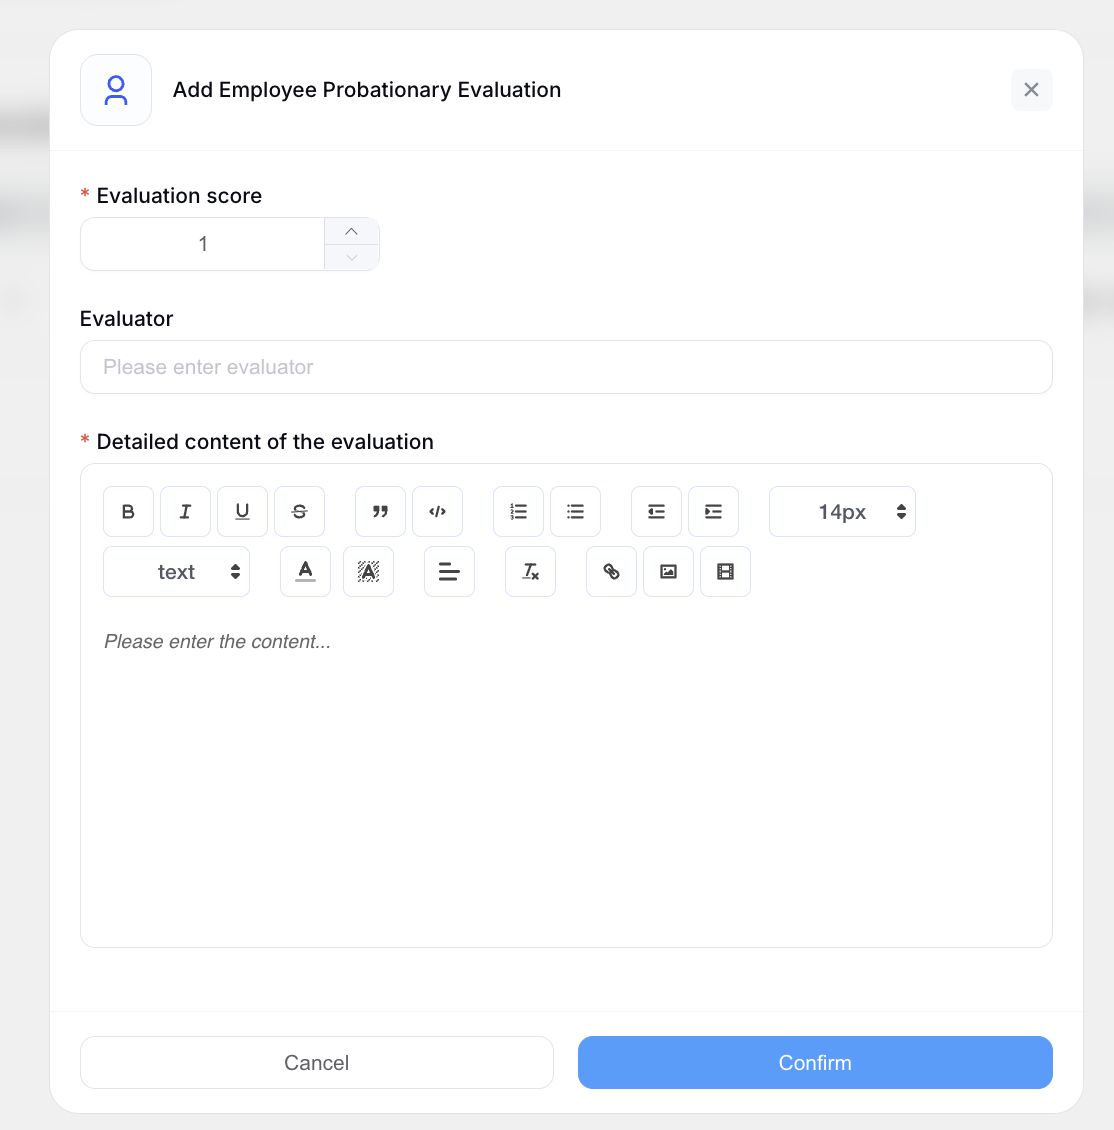
Evaluations can be added, edited, and deleted, and previous evaluations are available from the employee's profile under Probationary Period Evaluation History.
Regularization
Regularization converts a probationary employee to permanent status. Review the employee's probation evaluations, then record the regularization decision against their record.
Best Practices
- Collect documentation before the employee's start date so their profile is complete from day one
- Use the registration link for new starters so they enter their own details, then review the submission under Link Requests
- Keep contract records up to date so expiry and renewal are picked up correctly
- Complete a final evaluation before making a regularization decision